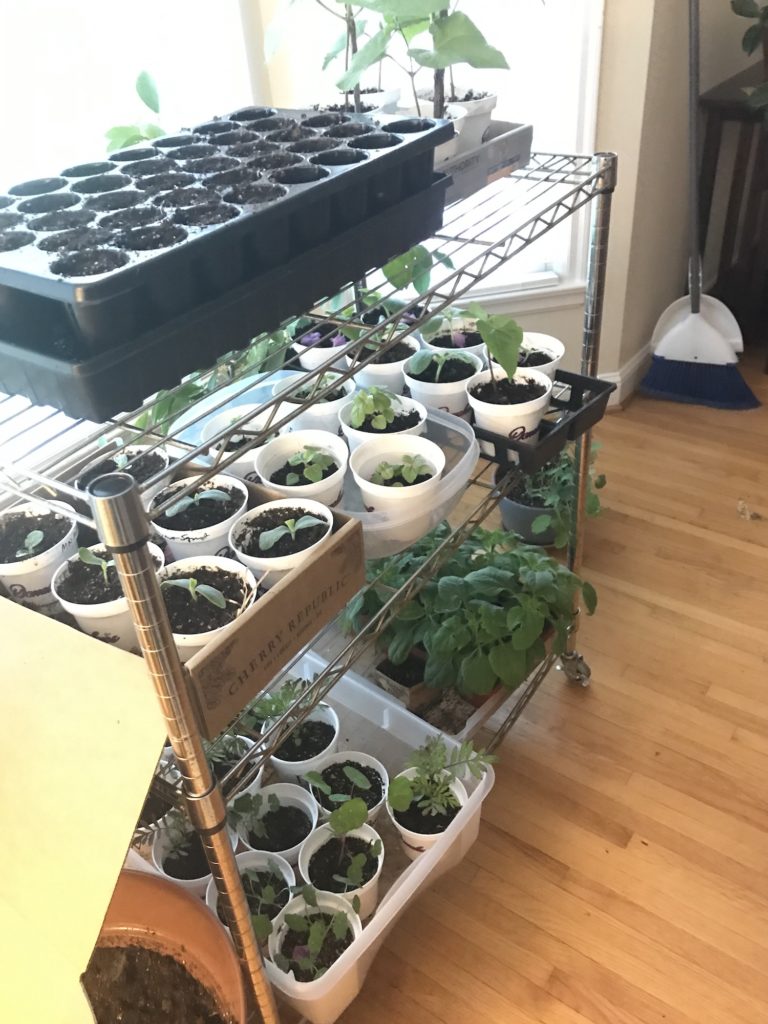
Ready to get started with growing from seed? Now is the time! Here are my 10 best tips for seed starting success, gleaned over years of seed starting and many failures!
1) Don’t start too soon. It is soooo tempting to start seeds in February, when you are bored, indoors and eager to garden. Unless you have a greenhouse or other season extender wait until March or April in the North. Between late March and mid April is the best time to start tomatoes. To know when to start seeds, check your last frost date for your area, then read the packet and count back the weeks to know when to start your seeds.

2) Use a four-bulb shop light. You can get all sorts of LED and grow lights for seed starting, and they work great. But a shop light is the least expensive option – and they last for years. For the best luck, get a shop light with room for four fluorescent or LED tubes—the extra light means extra healthy plants. This was a game changer for me!
3) Hydrate your soil before sowing. I recently learned this from my favorite garden podcast and it makes a lot of sense. You can sow seeds in a soilless mix, a light potting soil or make your own, but whichever you use, make sure it is well hydrated before you put it in the seed starting cells. Wet the mix, stir it to distribute the water, then let it sit overnight so the mix can really absorb the water, which your seeds need to germinate.
4) Put plants where you will see them. My seed starting improved exponentially when I moved the set up into a room where I would see them more frequently. If the basement is all you have, set a reminder on your phone to check every day.
5) Use a timer on the lights. No matter where your little seedlings are, add a timer to have the lights go on and off on a schedule. Sixteen hours a day is recommended.

6) Add a fan. Set a small fan on the timer too, so a gentle breeze blows over your seedlings. The fan mimics the air movement your plants will experience outside and leads to stronger seedlings.
7) Water from below. If your seed starting cells have holes in the bottom (they should!!), set them in a water proof tray. Then add your water to the tray and let the plants absorb it from below. It’s a gentler form of watering and brings the water to the roots.
8) Expect to fertilize. Seed starting mixes generally have no fertilizer in them because seeds don’t need it to germinate. But plants do need it to grow strong, so prepare to add some liquid fertilizer to your water ( a half dose should be good) or add an organic fertilizer to the seed starting mix. I like worm castings for this.
9) Pot up! As your seedlings grow, they are going to get too big for the tiny cells you start them in. A stash of old 4-inch nursery pots, such as those above, is great to have for repotting the seedlings as they grow.
10) Try winter spring sowing. If you don’t have the space or cash to set up for indoor seed starting, try winter or spring sowing. In this seed-starting method, you recycle clear jugs (milk, water, pop) to form mini-greenhouses. You can start perennials in winter and annual flowers and vegetables in spring. For a full tutorial on winter sowing, listen to my interview with Michelle Mero Riedel.
These tips for seed starting success were first published in my occasional garden newsletter. Subscribe for more information for northern gardeners.
Thank you so much for these tips! Sadly I started my seeds a little too soon this year. Our dogs were restless being kept inside and knocked them all over and the dirt soaked into our carpets. We were able to get them cleaned but some of my seeds were ruined (I think eaten too!). But these tips are great and I can’t wait to implement them next year!