In my prior garden, I had the room and the setting to take a relaxed attitude toward composting. I built a cage for food and yard waste, tossed things in there and once or twice a year, gave it a turn with the garden fork. It took a couple of years, but I had nice compost.
In my new, urban garden, that approach would no doubt lead to a rodent situation. So, with my birthday a few weeks off, I asked my husband for a tumbling composter that I’d seen in Gardener’s Supply catalog so I could try small batch composting. Master of internet-shopping that he is, he found one at a great price.
Step One: Assembly
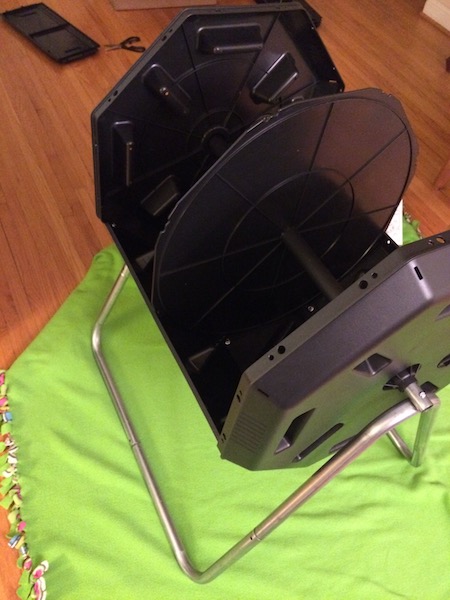
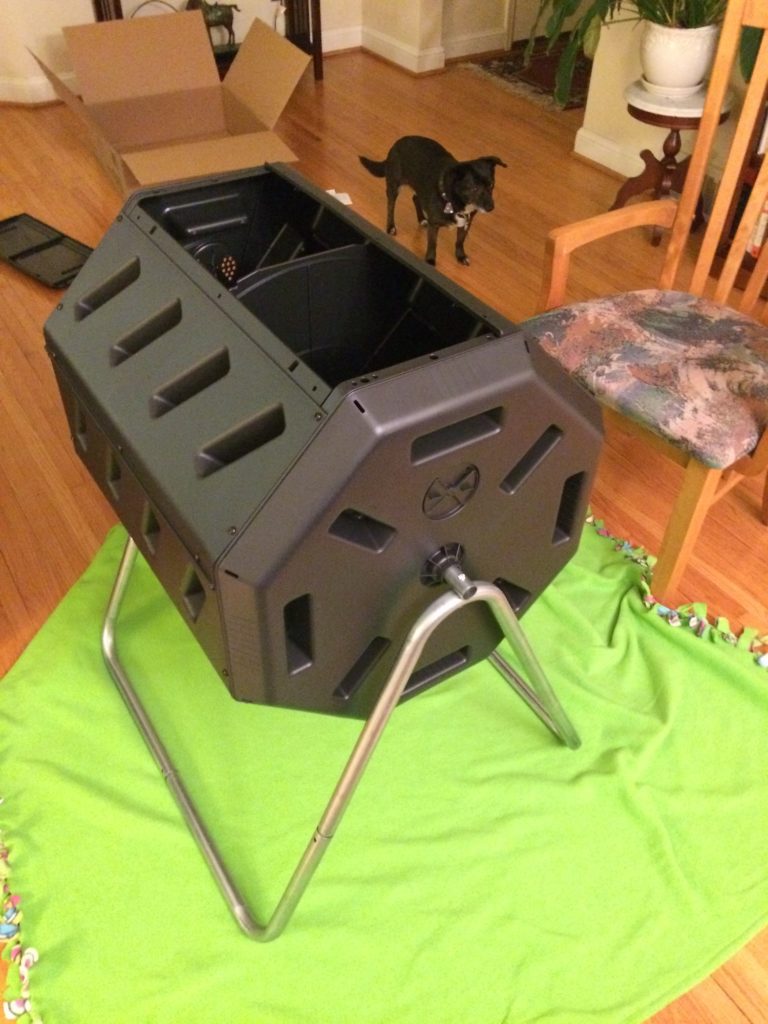
The composter arrived in a flat box. I spread all the parts out on the floor, shuddered with horror at the 56 nuts and bolts required for the unit, and set to work. If you’ve put together Ikea or similar furniture, you’ll have no trouble with the assembly. The metal stand goes together in a snap and once you have the two ends, the center divider and one or two of the eight side pieces in place (see image at right), the rest is just a lot of screwing panels onto the tumbler. I would give the instructions a C in terms of clarity — I could figure it out, but I have lots of experience with Ikea type furniture.
Step Two: Positioning
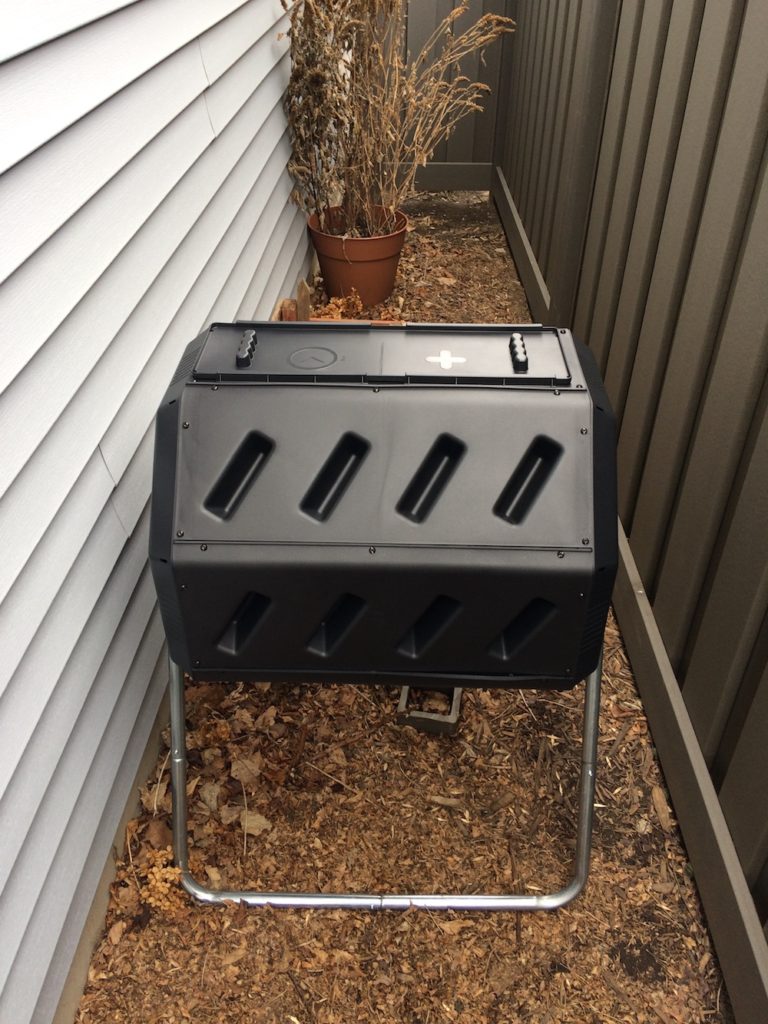
We chose this compost tumbler because it was small enough to fit into the space between the garage and the fence in our backyard. It will be out of sight, but close enough to the action that I’ll not forget to use it or give the compost a spin while it cooks. The tumbler is light weight—I had no trouble moving it into position on my own.
The manufacturer recommends positioning the tumbler in full sun to encourage decomposition to go faster. This area gets a lot of shade, but for aesthetic reasons, I’ll put up with slower decomposition. I also recognize that this composter is smaller than the ideal compost pile size, so we’ll call it an experiment and I’ll report back as the summer goes on.
Step Three: Compost
Small-batch composting is a more active affair than the slow-cooking style I used to make. The tumbler instructions suggest that you fill one side of the tumbler, then close it, rotate it five to 10 times, and continue to do that every two or three days while the compost heats up and the process continues. The turning introduces air into the mix to prevent odors and encourage faster decomposition.
I will be adding some soil from my garden to the first batch to make sure it has the microbes needed to create compost. After the first batch is finished, you can use your homegrown compost for a starter. If things don’t heat up as expected, I may add a commercial compost starter, though if you read the post linked above, it should not be necessary.
As is true in any composting, having a mix of brown ingredients (leaves, straw) and greens (kitchen scraps, moist garden waste) is important. The instructions suggest two parts browns to one part greens. That’ll be no problem in the spring, when there are plenty of leaves in my neighborhood to supplement the soggy garden waste. The goal is to have a mix in the composter that is damp but no overly wet. Managing this is especially important with small batch composting.
The instructions indicate the composter can handle twigs, though I’m inclined to keep most of the ingredients in the tumbler small. This should promote quicker decomposition.
I’m looking forward to being able to get into the garden and begin composting!

Good luck! That looks like a great one for a small space. Lola definitely looks entertained. 🙂
I’m ready to get started….as soon as the snow melts!