Low tunnel ready to protect plants from endless winter.
Like many Minnesota gardeners, I’m getting itchy to put some plants in the soil. I have lettuces and greens under lights in the basement and some tomato seeds planted, but not yet germinated, in a warmer spot upstairs, but that’s not the same. It’s still pretty cold here and as I write this post on Friday afternoon it is snowing. Ugh.
Given the rather gloomy forecast, I decided to take things into my own hands and build a low tunnel where I could plant out greens and keep some of the seedlings as they get growing. I’ve been reading a lot about season extenders in the past year or so. We had a great article by Colleen Vanderlinden on them in the September/October issue of Northern Gardener and I recently read with enthusiasm Barbara Damrosch and Eliot Coleman’s new book The Four Season Garden Cookbook, which includes lots of practical tips on using cold frames, movable greenhouses and low and high tunnels to grow food in colder climates.
One of the designs involved using welded wire fencing and plastic. I had both on hand and knew I could fashion something serviceable pretty easily.
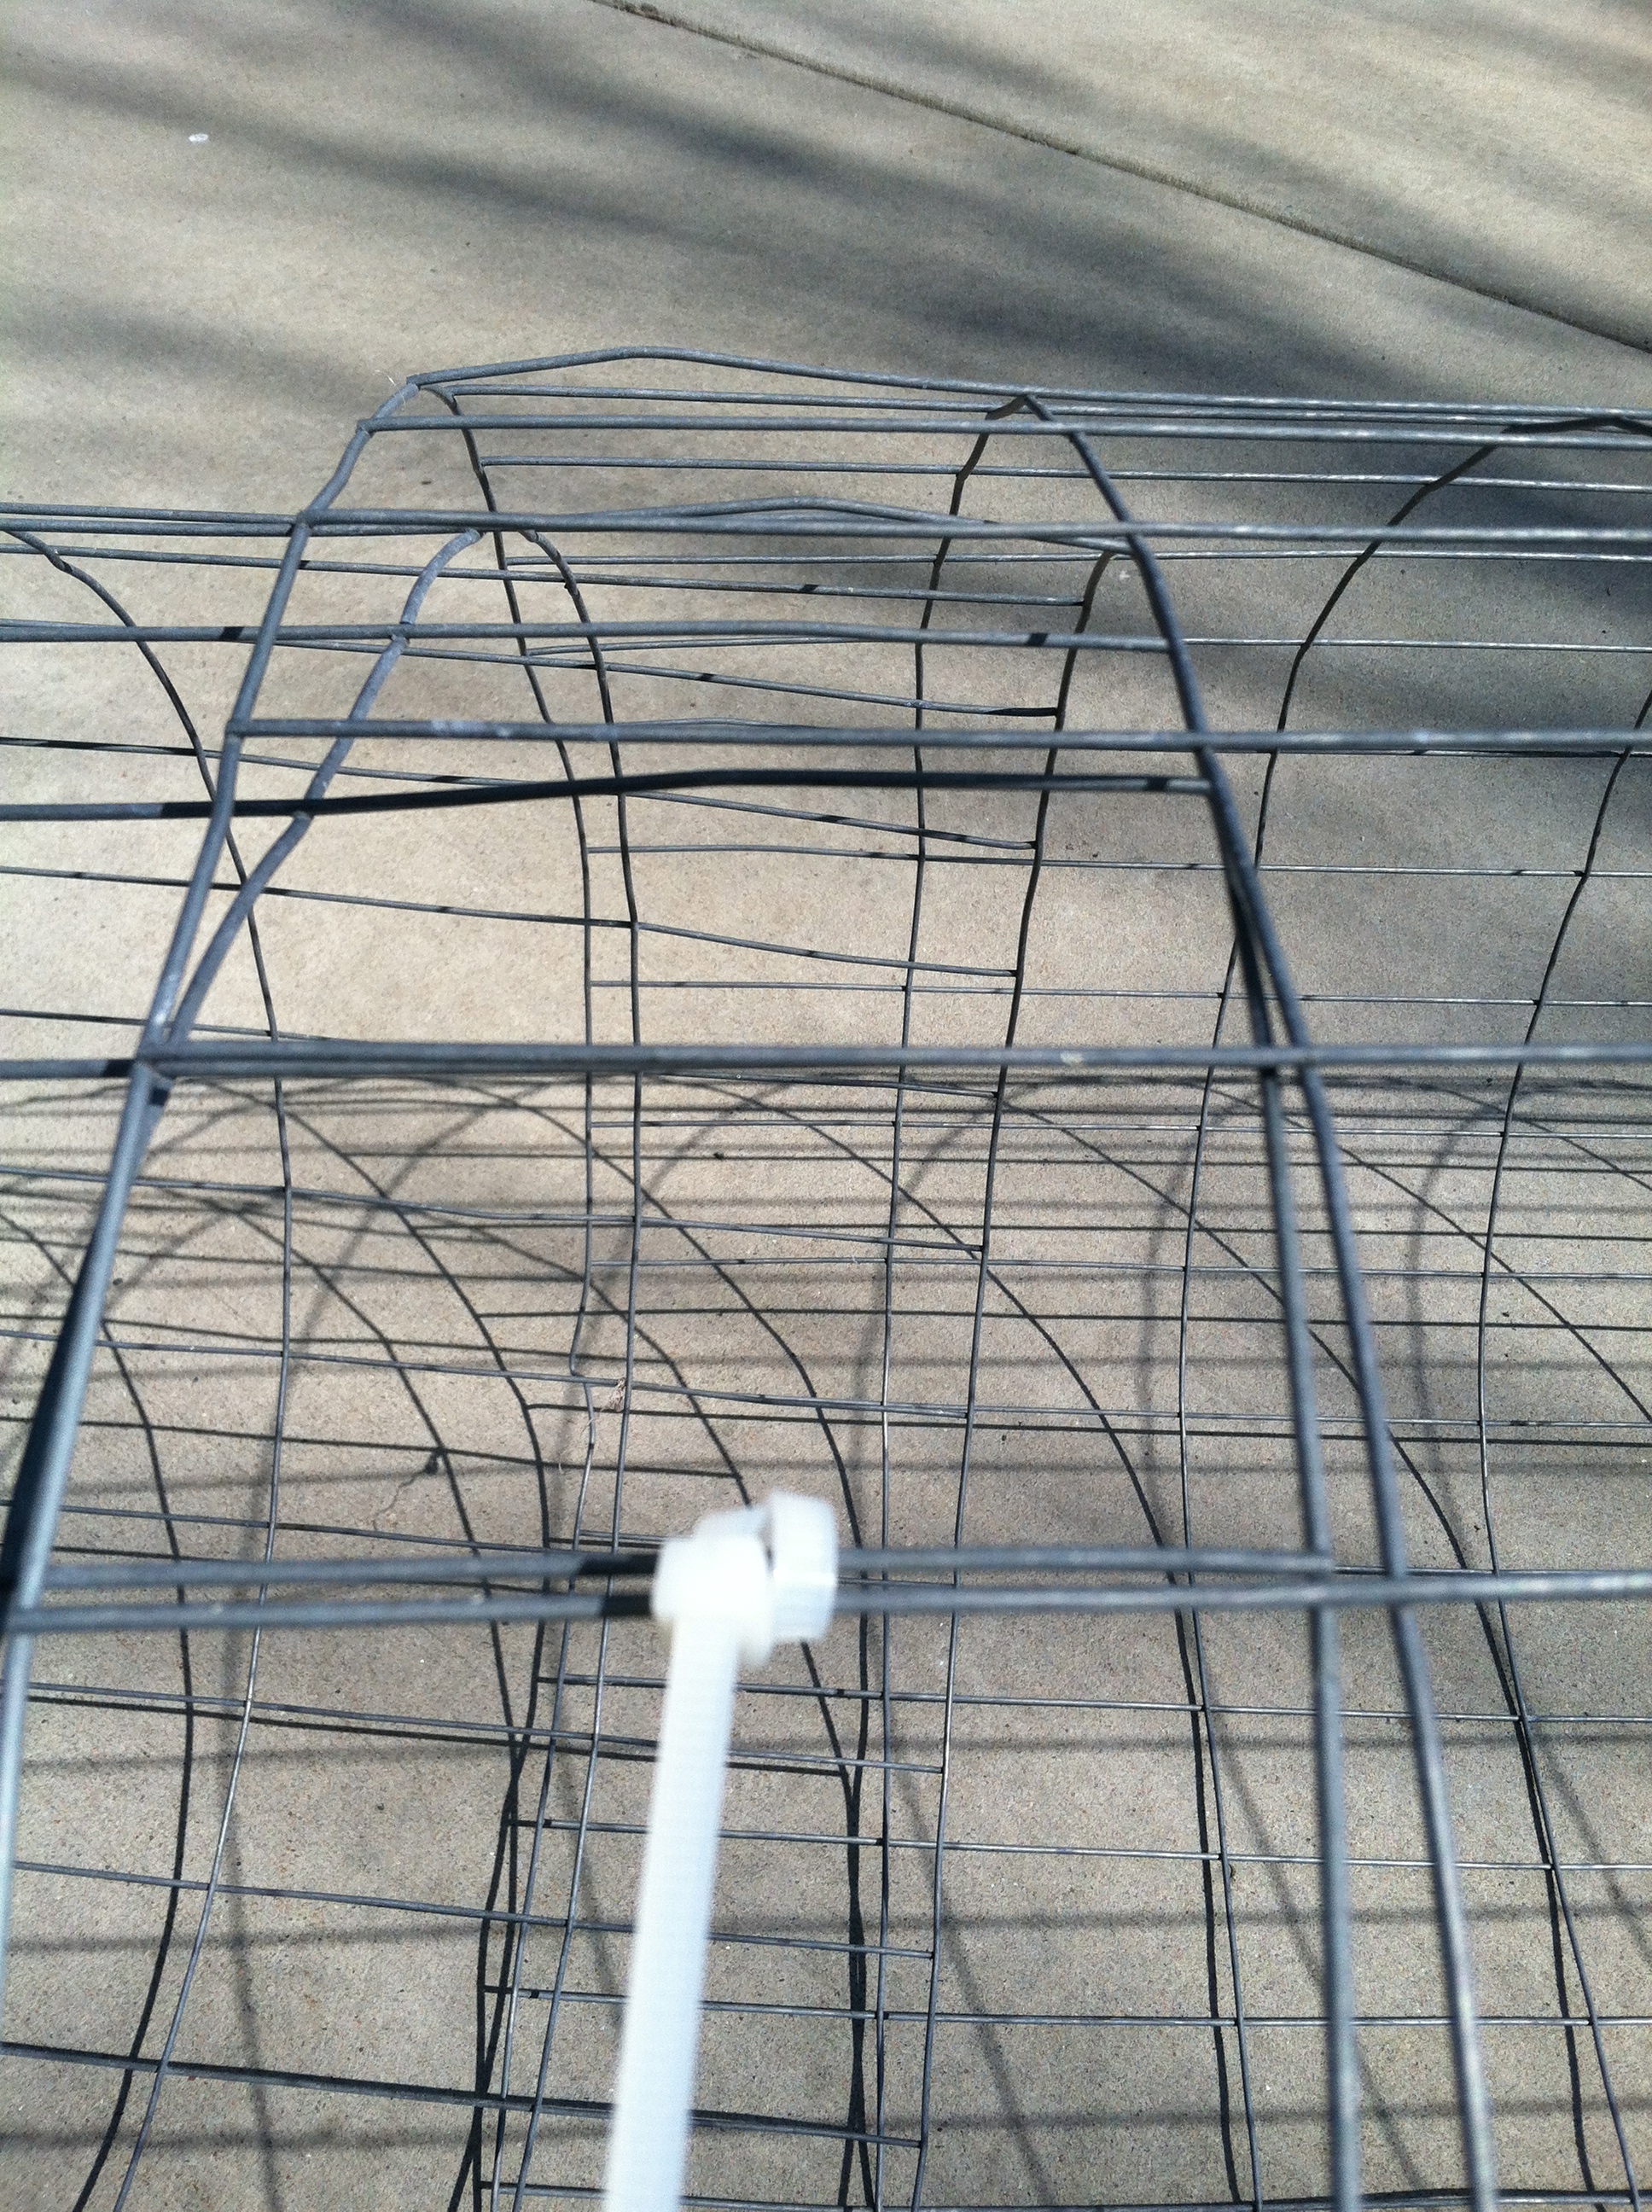
To make a longer tunnel frame, I joined two sections of fencing with plastic zip ties.
Here’s what I did: I took a length of 4-foot tall welded wire fencing and cut it in two equal pieces using a bolt cutter, making the cut in the middle of a square so that each end had a little tail on it. (Careful, these are sharp.) The raised bed I have the tunnel over is about 3 feet wide by 8 feet long, and the two welded wire pieces were about 4 1/2 feet across — just enough to create a bend for the greenhouse effect. I joined the two pieces to form one long one using plastic zip ties.
Next, I laid a painting drop cloth on the floor of the garage and put the wire tunnel on top of it. (If you have a heavier grade of plastic sheeting, use that.) I pulled the sides up and attached the cloth by poking the wire tails through the plastic. I left as much plastic as I could on each end of the tunnel and on the sides. I plopped it on the bed.

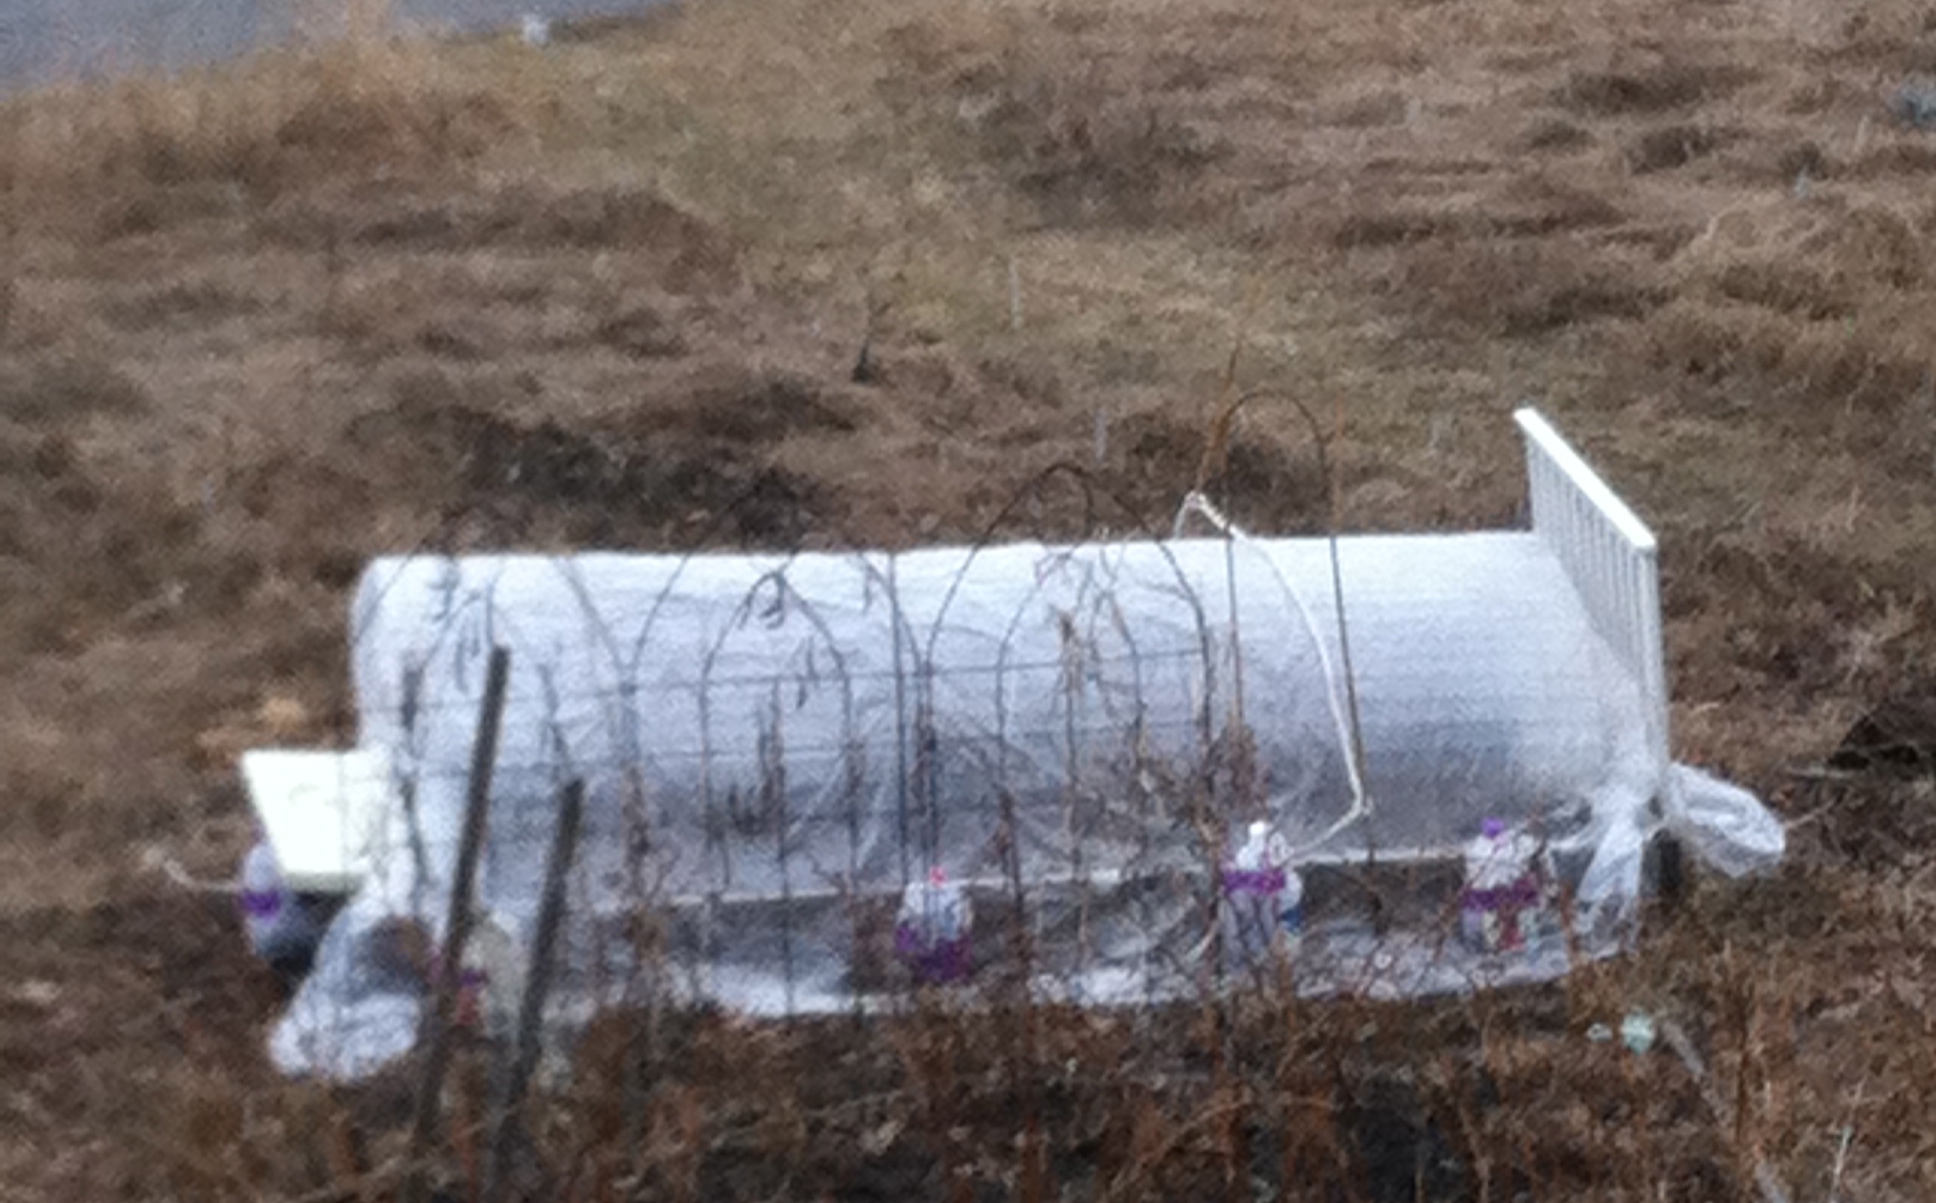
Sheathed in plastic, the tunnel is ready to go to the garden.
Now came the tricky part. We live in an area that is really, really windy, and I knew I would have a flying low tunnel if it was not secured. I ended up doing two things. On each end of the tunnel I placed a piece of 2-by-10 lumber about 3 feet long. (I happened to have these on hand from another project.) Then, I took some rope and lashed the plastic down in three places, tying the ends of the rope to some winter-sowing jugs. Any fairly heavy plastic jug with a handle to tie the rope to would work. Voila!
The tunnel stood up to a fairly stiff breeze last night with no problems. I’ll start planting seeds and putting out seedlings on Sunday, when the weather is predicted to be a bit warmer.
It’s rare that I have all the equipment on hand for a project like this but this time I did. There are many videos on youtube about hoophouses and tunnels. While the production quality isn’t great, this one has good step-by-step information on how to put together a low tunnel using PVC pipe and plastic.
I have been considering approaches to extending the gardening season. I have the materials for a cold frame and I am looking for other solutions. This was very helpful. Thank you.
Last year, my husband built a hoop style greenhouse over the vegetable garden. It works great to extend the growing season in the spring and fall. The ground under my greenhouse has been thawed for a few weeks now. I’ve been able to get the ground and my raised beds ready for planting much earlier than I would have without it. I’m planting out my winter sown cold weather veggie seedlings today. It’s definitely worth the effort. Last year, I harvested radishes in April 18th! We were still harvesting tomatoes and other warm weather veggies well into October last fall.
Amy