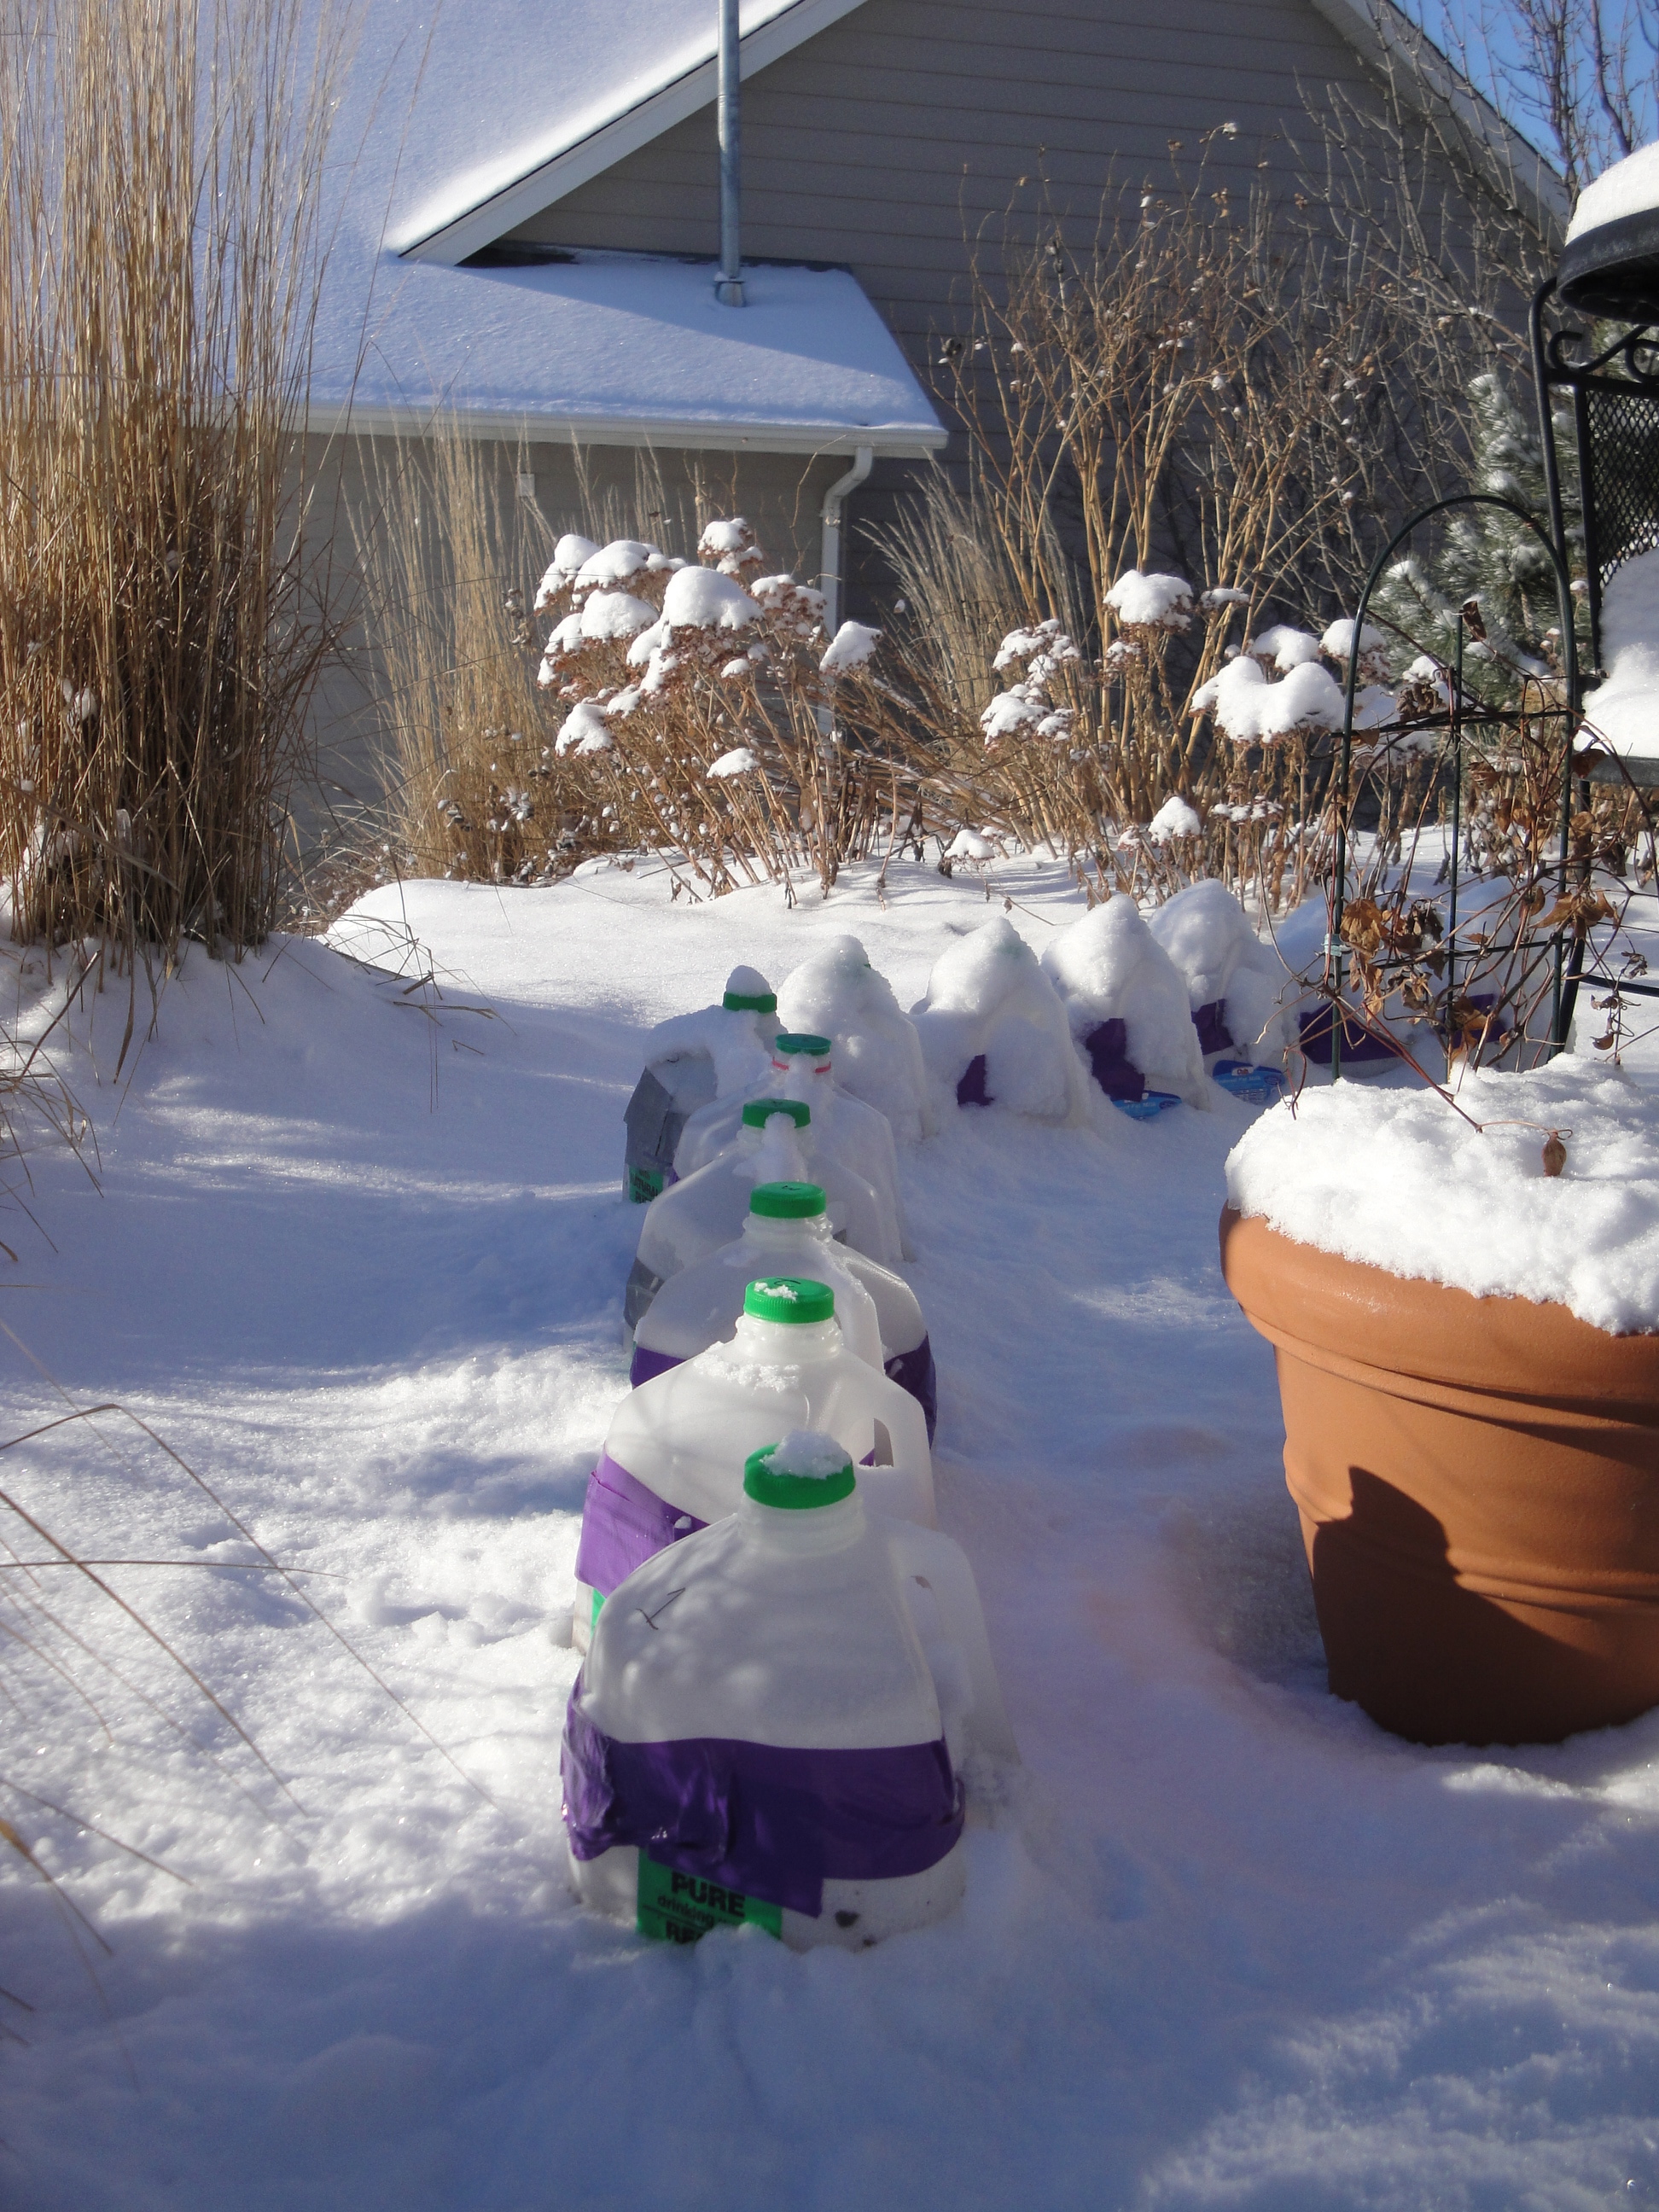
Lined up in a partial sun area, these containers are patiently waiting for spring.
As part of my big project for 2013, I’ll be using winter sowing containers to grow several kinds of wildflowers from seed. Wildflowers lend themselves very well to winter sowing because many of them require cold stratification, which is a period of chilling prior to germination.
Equipment
For winter sowing, you need the following items:
Clear plastic containers, at least 4 to 6 inches deep. (I like gallon milk jugs, but some gardeners swear by those large lettuce or spinach containers or 2-liter soda pop jugs.)
Potting soil (Your choice on brand and type. This year I am using a homemade mixture of two parts each peat moss and vermiculite and one part worm castings. This is a recipe I picked up from one of my favorite garden blogs. You have to listen to the podcast to get the full recipe, but it’s basically 2-2-1.)
Seeds
Equipment to poke holes in and cut plastic jugs (such as scissors, awl, pruning shears or soldering iron)
Duct tape
Markers, something to write on (popsicle sticks, old blinds, etc.)
Procedure
1) Wash the containers well in a 10 percent bleach solution. Rinse.

A soldering iron makes quick work of creating drainage holes in the winter containers.
2) Poke several holes in the bottom of the container for drainage and a few in the top to allow rain or snow to drip in. I’ve used scissors in the past, but after seeing a recommendation here, I bought a cheap ($4 at the local big box) soldering iron, which is a breeze for poking holes. Be aware, however, that melting plastic stinks. I do this on the back patio. Also, be careful if you have children in the home — soldering irons get really hot!

Container ready for soil and seeds.
3) Cut around the jug about 4 to 5 inches from the bottom, leaving the handle in place, so it functions like a hinge. For this, I poke a hole in the plastic with a pruning tool, then cut around with a scissors.
4) Put your potting mix in a large bucket and get it very wet. Give the water time to soak in, so you are sure you have a good, loose, wet soil.
5) Prop open the container and fill it with several inches of soil. Pat this lightly, then plant the seeds according to package instructions. Some seeds need to be immersed in the soil, others can just float on the surface with a little soil on top.
6) Write the name of what is in the container on a plant stick using a grease pencil (if you can find one) or a permanent marker. Also, write an identification on the outside of the container as well. DO NOT SKIP THIS STEP. You will forget what is in the container, if it is not marked. This year, I numbered the containers in multiple spots and lined them up in order, as a back up in case my markers fade.
7) Once they have been thoroughly marked, seal up the containers with duct tape. Some gardeners leave the caps on the jugs, some don’t. I have a few of each.
8) Set the containers outside and wait. As spring arrives, you will need to check the containers regularly to make sure they have enough moisture. When plants start to grow, gradually make the air holes on top larger and eventually cut the tops off the containers. Here’s a good video that shows you how the seeds will progress.
9) When you seedlings are strong and the weather has warmed up, plant them in the garden and enjoy.
I tried this a few years ago, and did not have success. Most of the seeds never sprouted and several of the jugs ended up with weeds growing in them!
I am almost positive that I left the cover *off* the jugs, and I am also pretty sure that what happened was we had a few warm sunny days and everything just completely dried up in there.
My kids were only toddlers at this time so I was a bit distracted. You are inspiring me to want to try it again!
I love your post. This is a great idea to propagate from seed. I have cleaned out several one gallon milk jugs and I am on my way to planting seed. Thank you for sharing.
I’d like to try this but we have no garden space. Do you have a few wild flowers that you’d suggest for a large pot or two in front of our house?
Jason — you could use almost any plant that doesn’t get too large in a container. Short grasses, such as prairie dropseed, would be pretty and have a lot of texture. Blanket flower (Gailardia) is a pretty wildflower that has been hybridized more so you could find some with different color blooms. It has a daisylike bloom and would be great in a pot. Here’s a good video I found that gives you some ideas of how to approach container design. http://www.youtube.com/watch?v=qc-ULynnCcQ
I’m going to have to try this, if the rain and fog ever subside. Is t too late at this point? By the way, I enjoyed meeting you this weekend.
Karen — It’s not too late at all. A lot of people use winter sowing for vegetables even, but start them in late March/early April. Great to talk with you!
This is my first year planting perennial wildflowers in a container that my son built me. I seeded them in the spring and they look great!! My question is how should I prep them for the winter months? I’m not sure if I should cut them back or what. Any guidance that you could offer me would be greatly appreciated!! Thanks