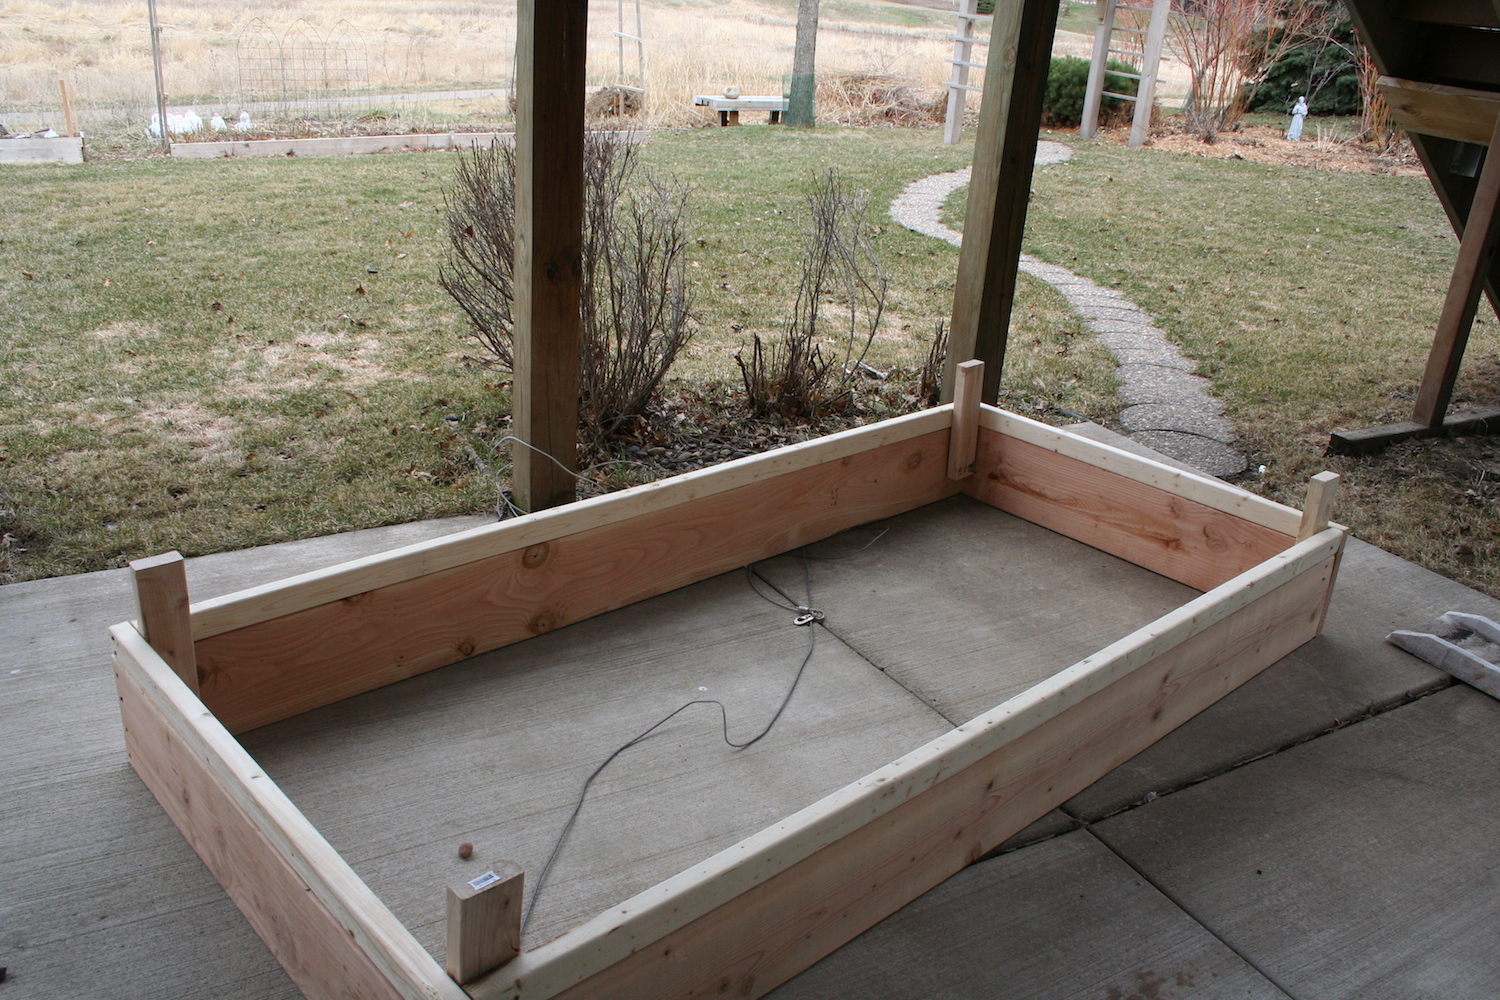
It’s still too early to be tromping around in the garden, so the great weather on Saturday seemed like an invitation to finish some garden building projects. So, after picking up some deck screws and 2-by-2 posts at the local lumberyard, I started work on my new raised bed. (I bought the cedar for the sides last fall.) This bed will be 3-feet-by-5-feet and will be devoted to tomatoes.
I’ve built raised beds myself twice before, and several years ago, my dad built a pair of them at my old house. His beds turned out nice and square–mine, not so much. I followed the guides set out by Sunset books on how to build the bed. I liked the idea of putting the posts down and basically building the bed from the top down. To put it together, I used deck screws. It worked better for me to drill a pilot hole for the screw, then to put it in and use my power drill to install the screw. This bed is 11 inches deep, with a 3-1/2 inch board on top and a 7-1/2 inch board underneath. (In the photo, it’s upside down.) On the next sunny day, I’ll go out and dig the holes to fit the posts in, and fill the bed with soil. The mix that I have heard recommended is one-third garden soil, one-third compost, and one-third sand. The Sunset guides indicate you can put the bed together in a few hours, which proved true. However, I’d recommend having someone around to hold the boards in place while you are attaching them. With the long boards especially, it’s tricking to keep them in position without a little help–hence, my somewhat trapezoidal bed.
The other job I finished is the building of a frame to use to hold up my raspberry canes. For the frame, I used four 1-by-2 boards with a pointed bottom, and four 2-by-2 boards for cross-beams. I will be adding eight hooks and then running wires between them. The idea is to create two channels of wire through which the raspberry canes will grow. The frame is supposed to improve air circulation and make the raspberries easier to pick by keeping them at eye-level. When I was installing the frame on the raspberry bed, I noticed that the raspberry canes left standing over the winter had buds on them. With any luck, there will be a July crop of berries, as well as the early fall crop that we had last year.

Ambitious! Good for you!
It looks like you had a productive weekend. I love raspberries!